To make this card you will need the following:
Fast Drying glue
Trimmer
Distress Ink and tool
Trim
Needle and Thread
Border punch
Maya Road Chipboard Dress Form
An 8 inch piece of patterned paper
A scrap of matching paper for the top
Step 1:
I used my trimmer to cut a 1 inch strip and border punched along the edge.
I used two matching patterns of paper here.
Step 2.
Once I punched the strips I began folding them accordion-style.
Step 3:
I used my paper piercer to put holes in the
accordion pieces.
Step 4:
This makes it easier to thread the needle through the holes and create
the fan shape required for the skirt. I do this on each piece.
Step 5:
I then inked the dress form chipboard.
I then inked the dress form chipboard.
Step 6:
I added glue and attached the pleated fan shape. You will have to hold the pleats on quite firmly
Step 7:
I traced the shape of the bodice on the plain cream paper. And glued it on.
Step 8:
Trace the upper part of the dress form on a plain or matching piece of cardstock.
Cut it out and adhere it to the dress form.
Step 9:
Using a small piece of ribbon, fold and sew it to create a blossom.
Step 10:
Glue the sleeves on in the appropriate location.
Step 11:
Add bling or adornment as you like.
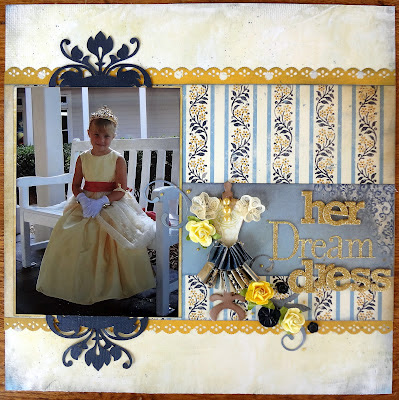
I made a dress form similar to this one for a layout featuring my daughter's elegant Princess dress.
I hope you'll give this feminine embellishment a try!
Until next time, keep doing what you love to do!
Christa


Christa, what a gorgeous project! Love this idea!
ReplyDeleteSooo pretty.
ReplyDelete